
THE FREE CLASS MANAGMENT SYSTEM - IN THE CLOUD

How
does it work
?
ClassMaster is really easy to setup, take a look below to see how...
Step 1. Sign up
Register for the system
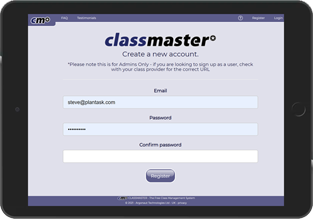
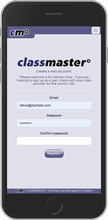
Go to our 'Register' page and enter the email address you want to use with ClassMaster. Add a memorable password, confirm it and press Register.
That's it, welcome to ClassMaster!
Step 2. Tell us who you are
Add your company details
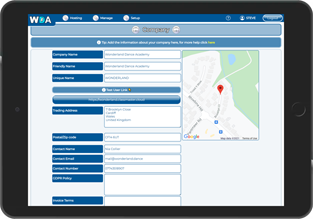
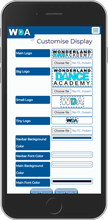
Add the details of your company, chose a unique name for your ClassMaster app and customise the logos and colour scheme to personalise ClassMaster for your users.
Now your ready to setup your venues 👍
Step 3. Tell us where you are
Add your venues and spaces
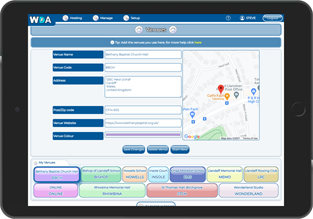
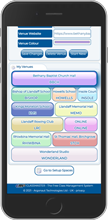
Enter all the places your classes take place. Add each venue and space, for instance Eastern Leisure Centre, Studio 1 & 2. This helps people register onto the correct class at the right venue.
Now it's time to add your classes.
Step 4. Tell us what you do
Add your styles and classes.
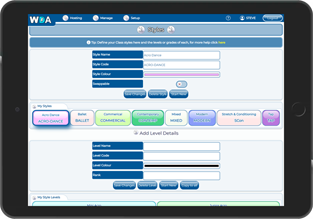
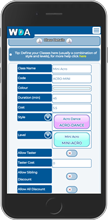
Add all the styles and levels that you teach, then create your classes based on those styles and levels. You can restrict numbers per class, add minimum or maximum age requirements and set prices and discounts.
You can even add a check list for your students to complete before attending.
Once you're done it's time to add your teachers.
Step 5. Add your teachers
Tell us who works for you.
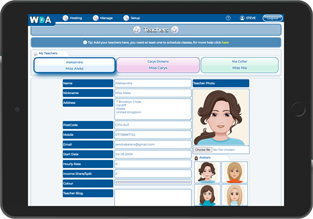
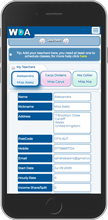
Next, add your teachers details and assign all the styles and levels that they can teach. You can add a photo for your students to see and a biog. Enter their hourly rate or income split so you can work out their pay using the reports screens. You can give them access to ClassMaster to add lesson plans or update the attendance.
When you're finished, it's time to add your terms.
Step 6. Add your terms
Tell us your working terms.
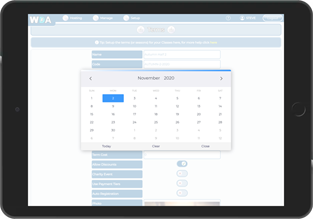
Enter the terms your business runs to. This can be School terms, half terms, months, quarters or even weeks. You can add an image to a term to make it more personal to your business.
You're nearly there now, let's make the timetable next.
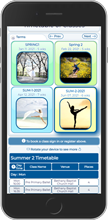
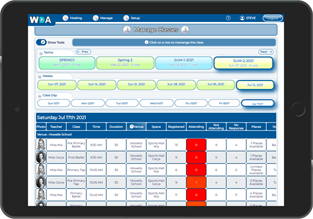
Step 7. Tell us your timetable
Build your timetable and schedule

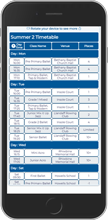
Select a teacher and drag and drop their classes onto your schedule. Move them around as you need and once you're happy go to the timetable screen and generate the classes for each term based on the schedule.
This it! Now it's time to get your students registered 👌.
Step 8. Get some students
Send the link or manually add
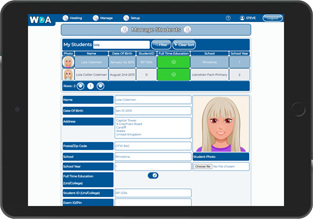
Send out the link to your parents and students to self register for classes. They can install the app on their phone, tablet or laptop but if they have trouble they can contact us directly for free support or contact you to add them manually in the Manage Students section.
You're done!

What else
can it do
?
There are lots more free features to ClassMaster, here are just a few...
Keep in touch
Contact your students
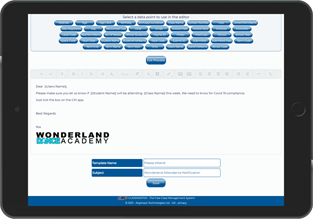
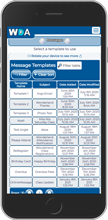
Create templates for mail shots and let ClassMaster handle the writing and sending. Bulk message your students and parents by class, term or custom group.
The messages are individualised to each recipient for that personal touch! 💌
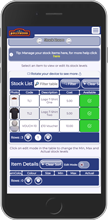
Take attendance
Simple class registers
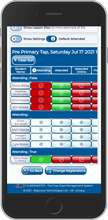
Easily take attendance with the touch of a button on the phone app in class or after the fact in the main app.
Parents and students can notify you of their intentions to attend through the parent app so you know who can make it and who can't. ✔
Create your bills
Perform billing and invoicing
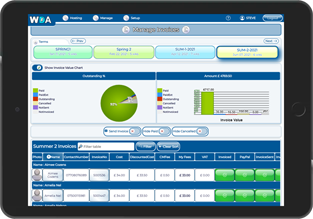

Create your invoices in bulk or one by one. Accept payment via trusted PayPal™ or marked bills as paid in cash.
Let ClassMaster take the hassle out of billing and reminding people to pay you. Get notified automatically when bills are paid. 😀
Manage qualifications
Add qualifications to your students
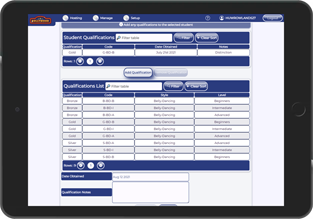
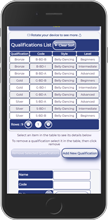
Set up qualifications and assign them to classes and students. Keep track of your students' progress in ClassMaster.
Each class can have similar or unique exam structures and ClassMaster can atomatically add the qualification to the students on completing the exam.
Built-in shop
Sell your uniform

Use the built-in store in ClassMaster to sell your uniform, vouchers, tickets and memorabilia. Manage your stock and orders and send out invoices and bills.
Parents and students can order directly in the app. 🛒
Keep track of progress
Report on your business
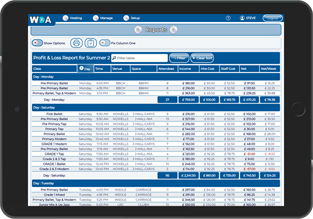

ClassMaster has some great built-in reports to keep track of your business. From Profit and Loss to Returning Students and even Birthdays.
View, export or print your reports to keep on top of things.
|
|
||
|
|
For more information email us at support@classmaster.cloud